
One Room Challenge // Week 4
Breaking news y’all!
We have been given an extension on the One Room Challenge, so now instead of six weeks, we have seven to complete our rooms. With all of the unforeseen natural disasters we have had here in the states, it was apparent that the timing of the start of the challenge was very inconvenient for a lot of participants. I’m so glad that we have a little bit more time!
The foundation of making over my space is transforming the walls. Applying removable wall coverings is one of the easy changes you can make to a rental space that gives a big impact! For this part of the project, I used this over-sized floral print that was really economical for only $14.99/yd. To cover the portion of my 8 foot high ceilings that I wanted to cover, it only cost me about $120.
Next, I purchased painting supplies from my local Dollar Tree! If you haven't ever looked through their home supplies section, please do! They have so many little useful tools and although they aren't top quality, they do the trick for little projects like this.
Here is a step by step of how I did it:
I cut the fabric into 8 foot pieces. This allows room for trimming above the baseboards.
Using a staple gun, I tacked the fabric to the wall where I wanted to apply it, just at the corners. This kept the fabric taught while I began to stick it to the wall.
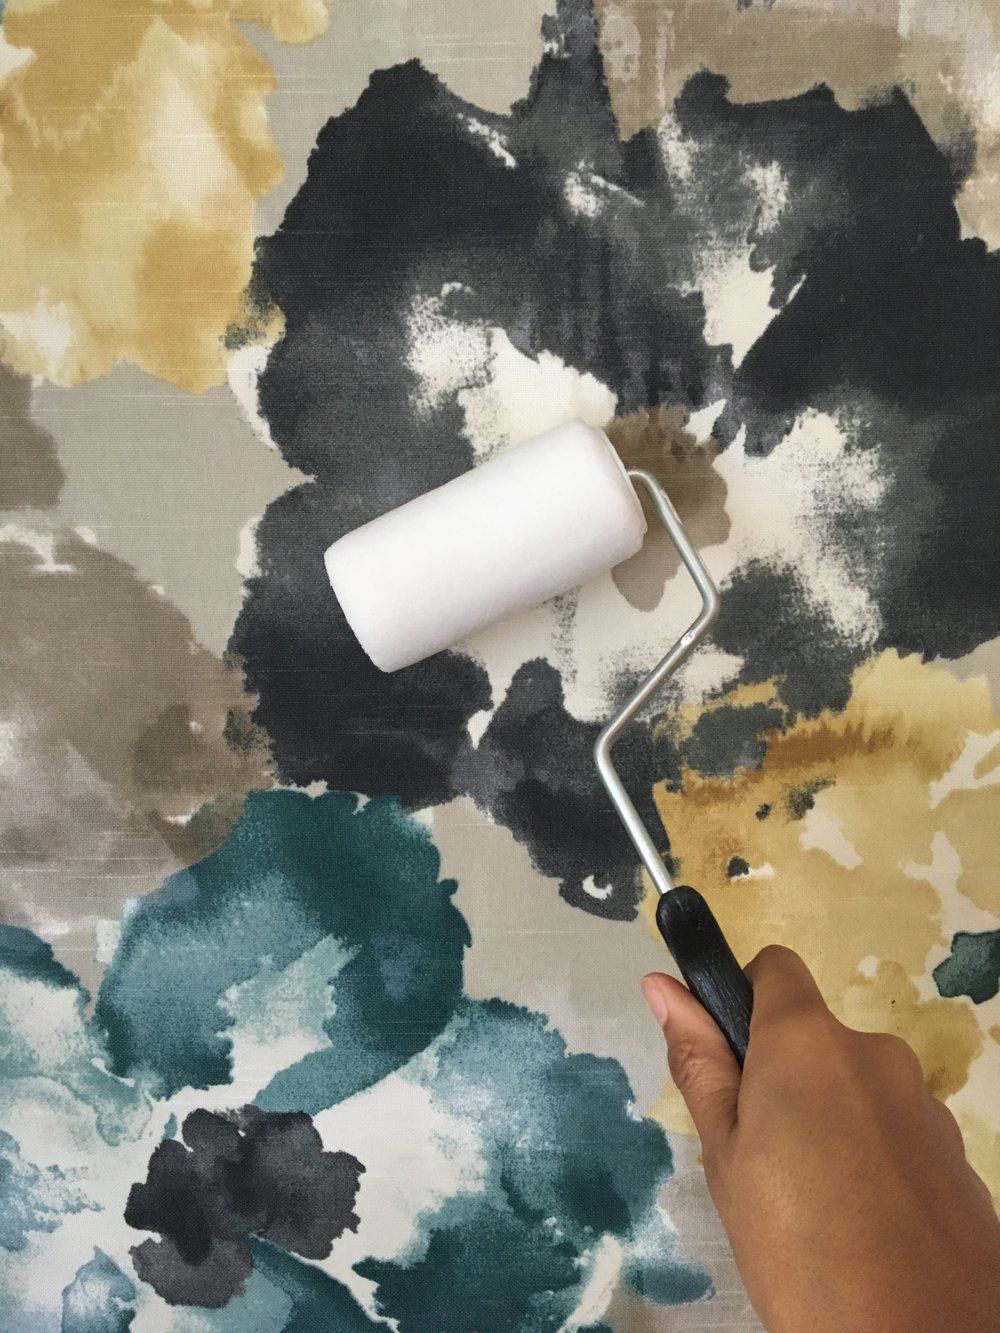
I started out with a smaller roller that I dipped into a pan filled with liquid starch.
Starting from the top corner, I began applying the starch onto the fabric and smoothing it with m hand as I went.
Yes, liquid starch!
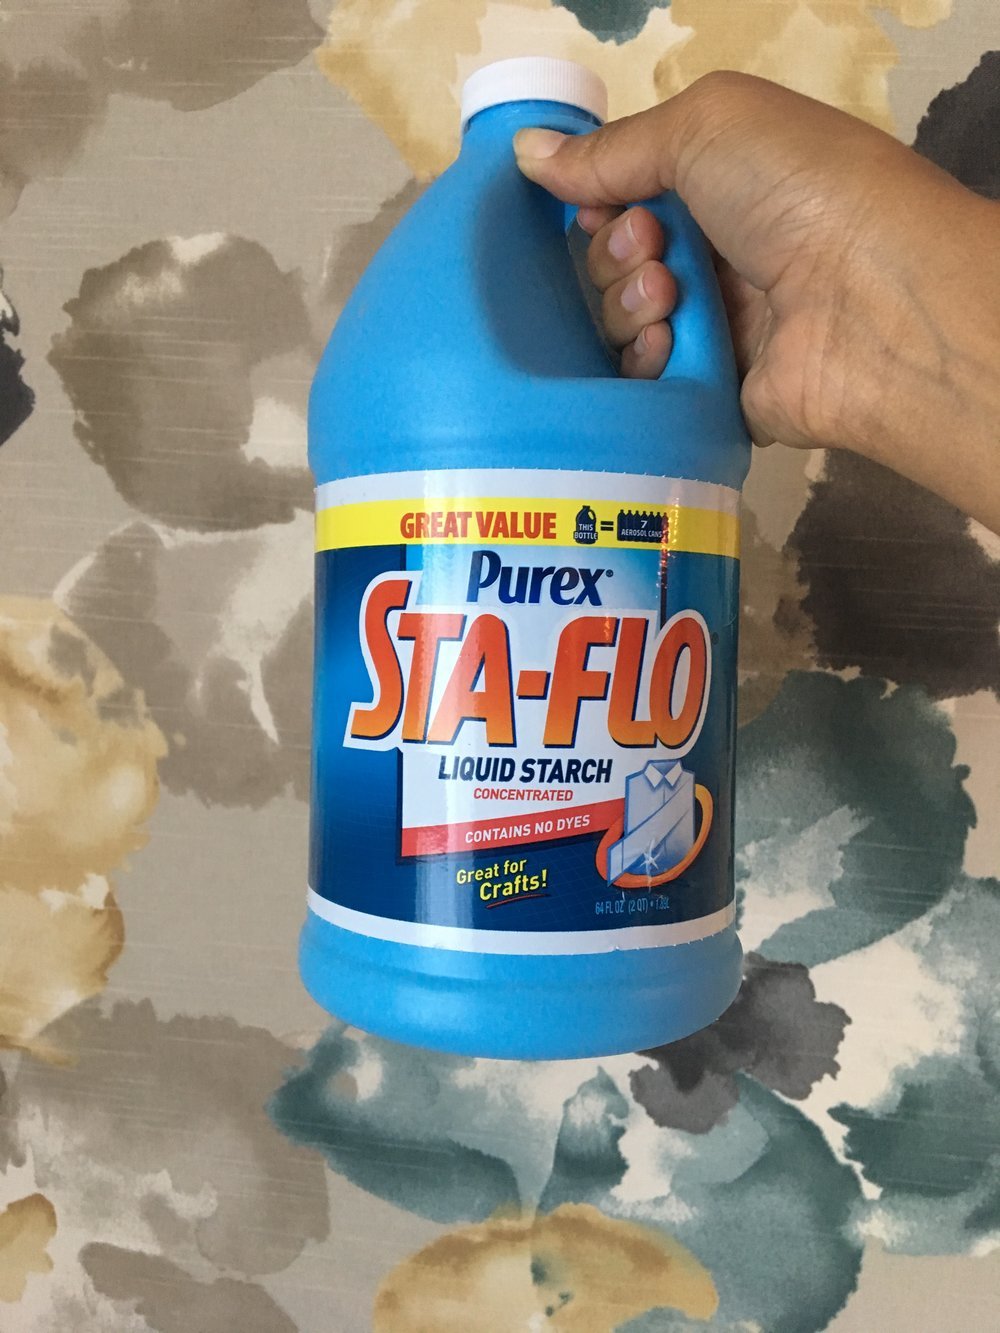
The same kind of starch that you would use on clothing works perfectly for applying fabric to the walls. The trick is to saturate the fabric so that it soaks through to the dry wall. Smooth any air bubbles as you go, and wait for it to dry to see any areas that may need more starch. The thing I loved about this method is that you really can't mess it up. The fabric is adhered to the wall, but you can easily pull it off and adjust if needed.
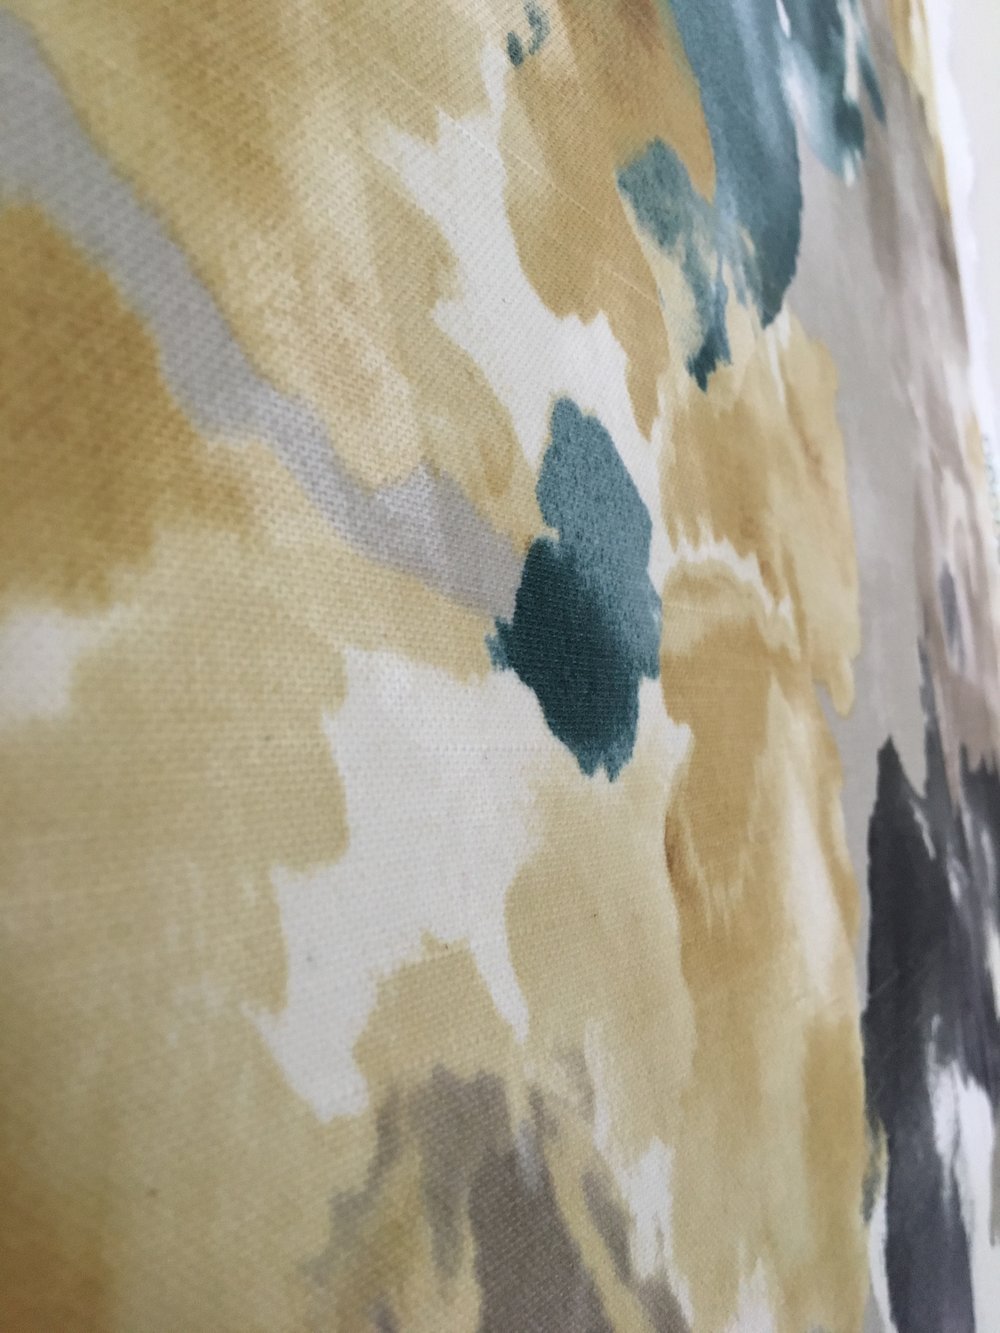
This is a close up of how the fabric looks after it dried on the wall. After it was dry, I simply used a razor to trim around the perimeter of the walls to clean it up. And voila! The whole process took me about 2 hours to cover around 12 feet of wall space.

Here are a few things I learned during this process:
Dust & prep your walls really well before you start! Any little extra particles make it harder for the fabric to stick.
You cannot saturate the fabric "took much". The more starch, the better!
The fabric has to be completely dry before trimming the edges to get a clean cut.
Using a heavier upholstery grade fabric will give you the best results. Do not use a fabric that has any stretch to it!
Next: I'll be applying trim to the top & sides. I have so much more to do to get this space together but I'm feeling confident after what was accomplished this week. Special thanks to my cousin Desiree for her help!
