
DIY Desk Makeover

If you follow me on Instagram, you saw me makeover this vintage desk last week, and I couldn’t be happier with how it came out!
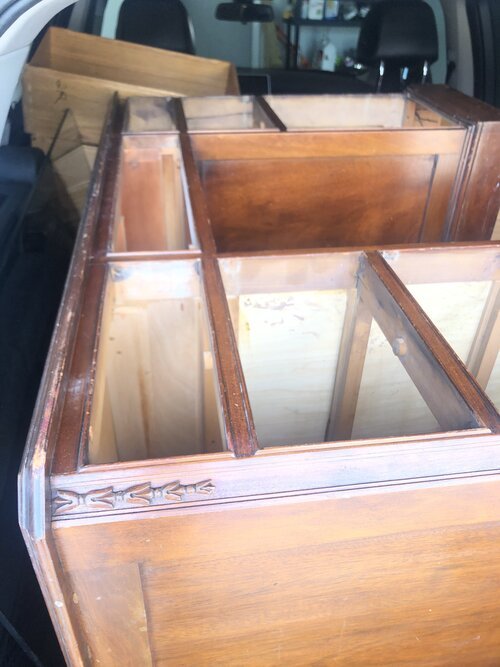
I found the desk on Facebook Marketplace and we drove about 45 minutes to pick it up. The home where this desk lived before was stunning! And you know you’re making a good purchase when the previously owner squeals “I love your shirt!” when you pop out of the car with your favorite cheetah print top. Kismet.
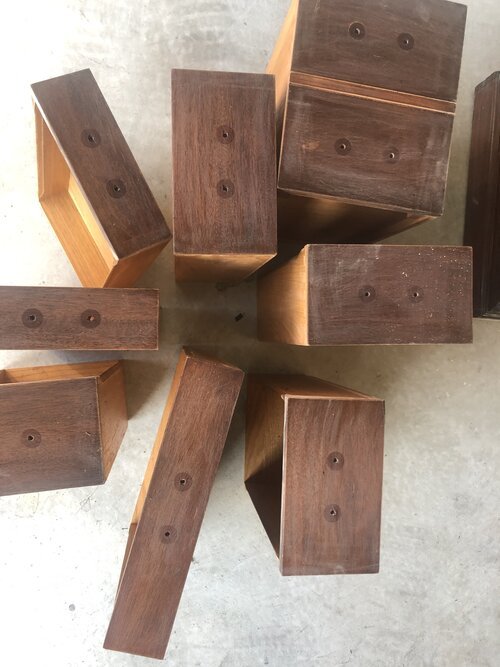
Once we got the desk all loaded up and moved into our garage, I removed all the drawers and washed the desk down inside and out. Then, I removed all the hardware and sanded it down with a fine grit sandpaper.

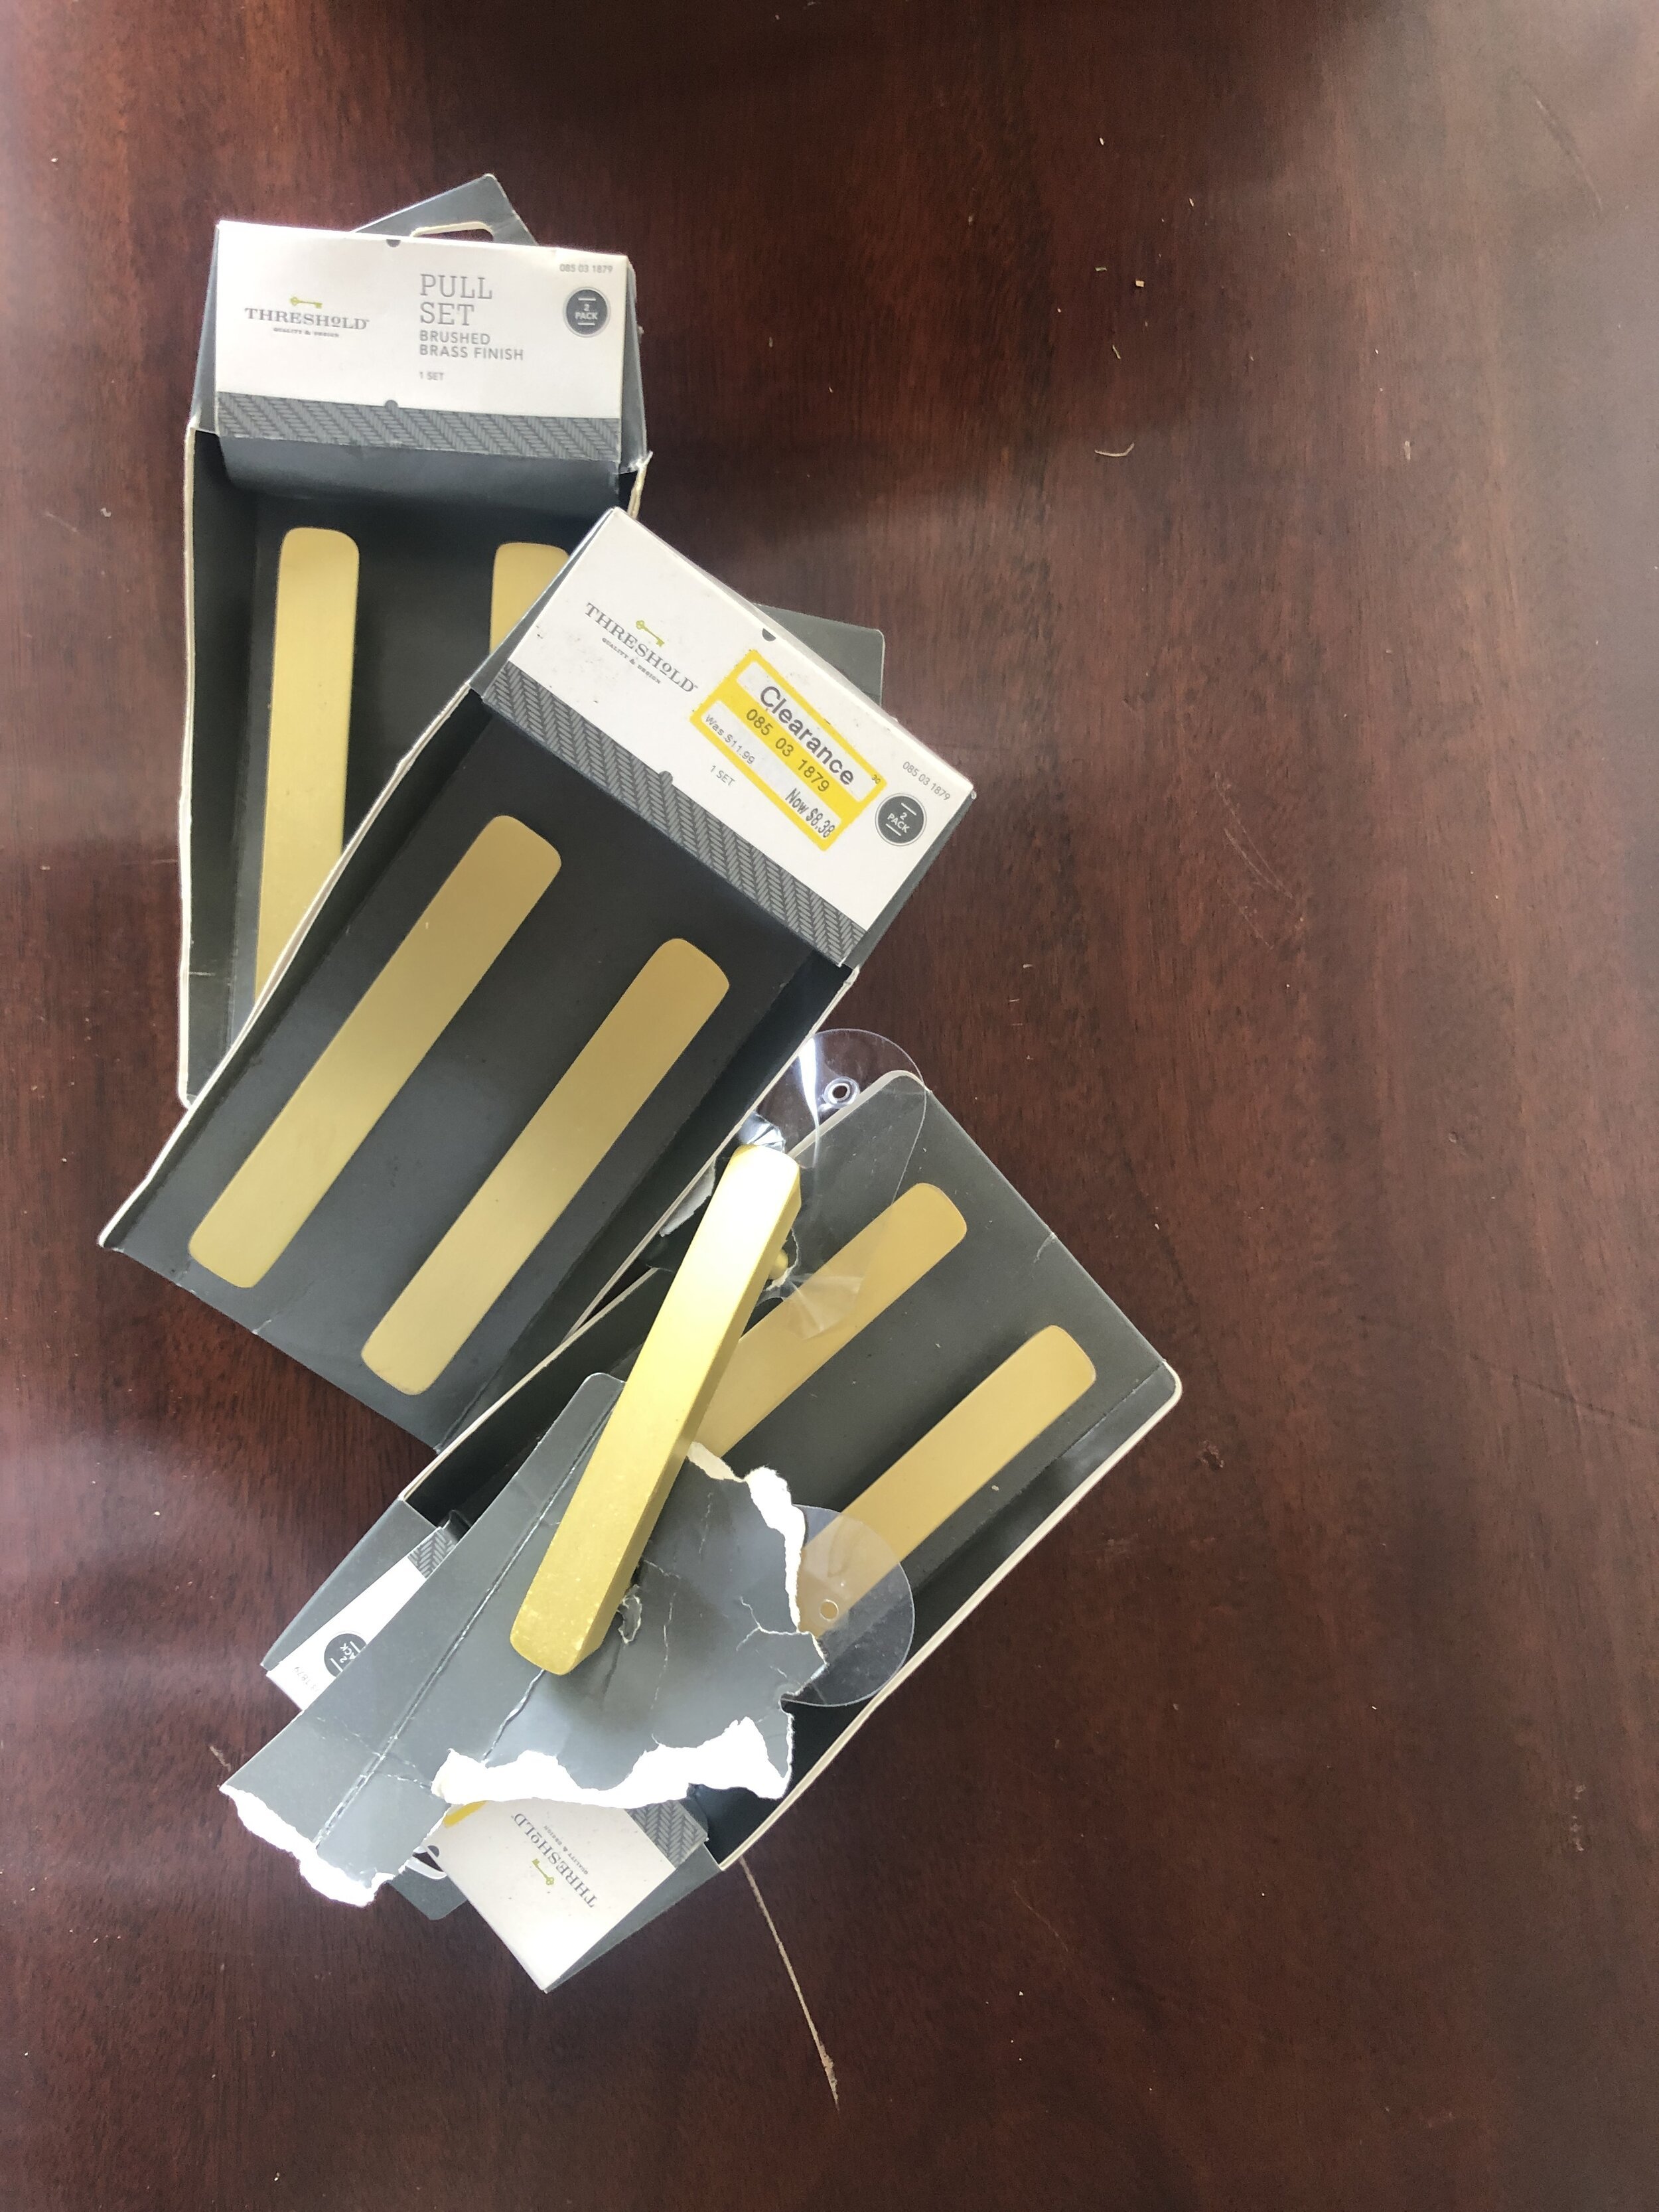
When I moved into our home, I brought this set of hardware that I purchased on clearance at Target with no real plan for using it, but I’m so glad I did! The brushed brass pulls are a perfect replacement for the 3” spread vintage pulls that were on the desk.
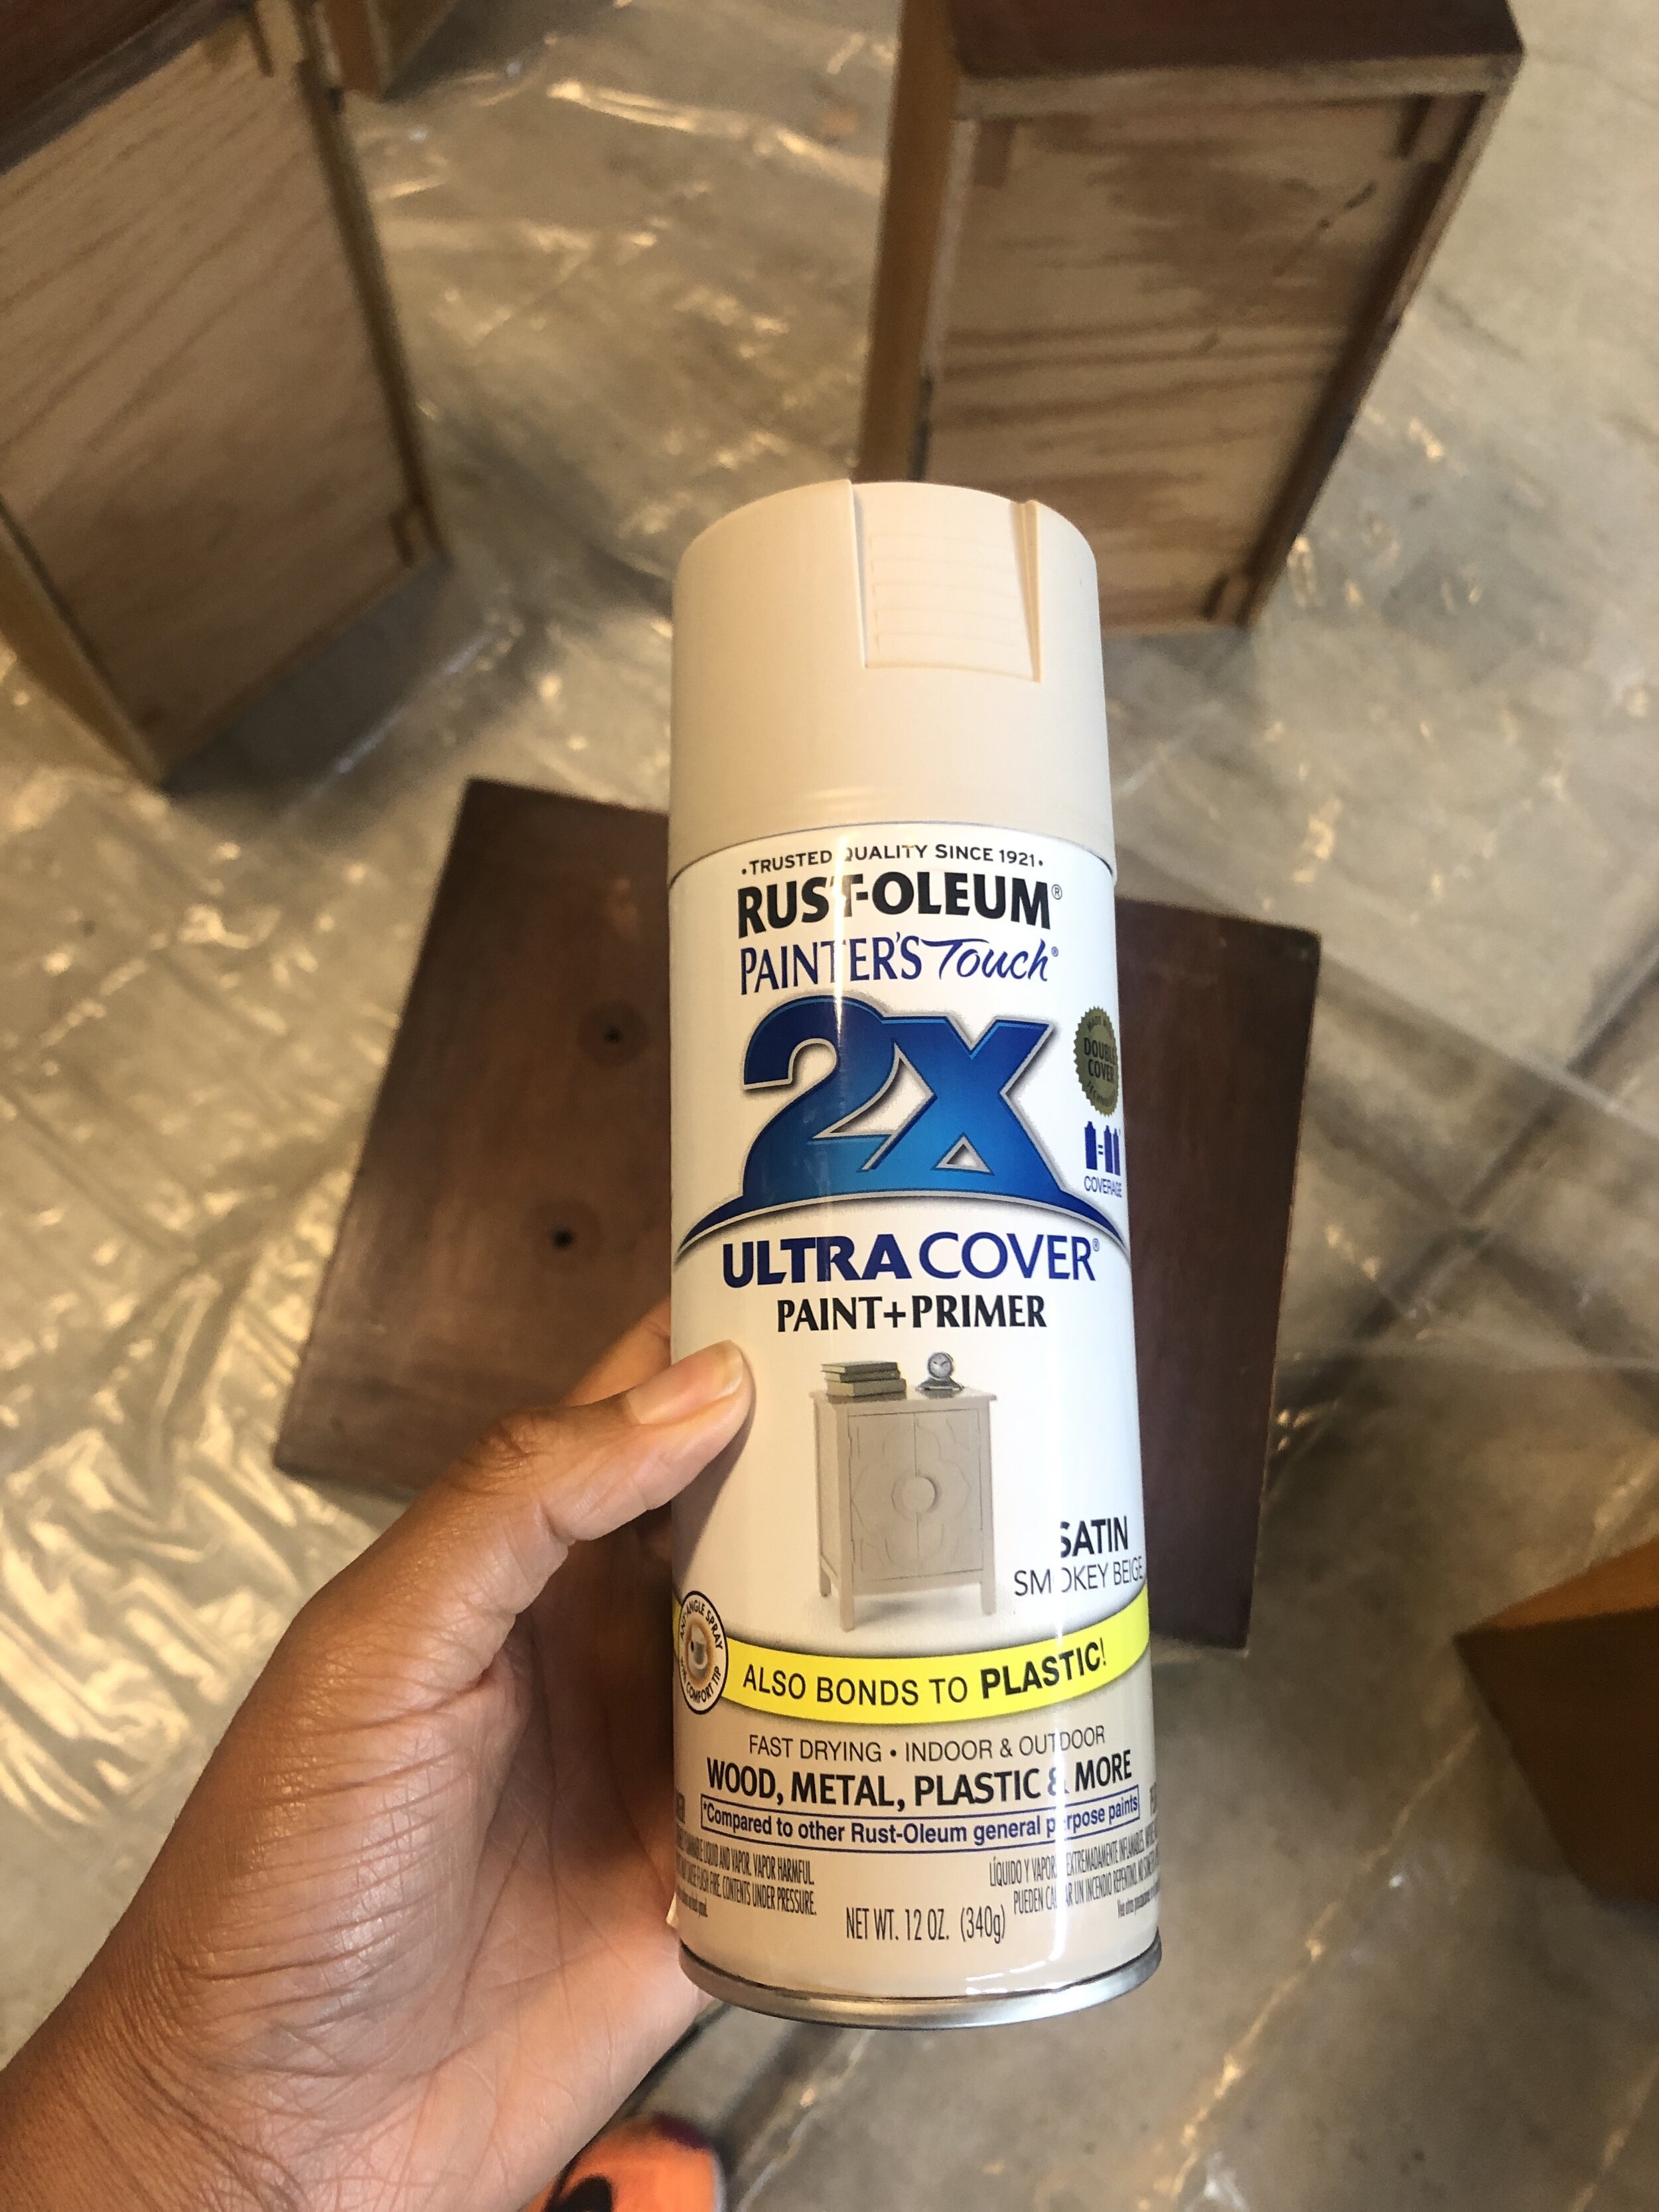
The next step was deciding whether to paint or spray paint the desk. Initially, my husband wanted me to use chalk paint to paint the desk because he’s used it before and was confident in the process. However, after doing a bit of research, I found that I could achieve the finish I wanted with a good-quality spray paint. Since I have sprayed tons of furniture in the past, I decided to go with that. When I visited The Home Depot, they had a HUGE selection of colors by Rustoleum. This Smokey Beige is exactly what I wanted for a great neutral foundation that would work well with the carpet and paint color in our office.

I just loved how the fresh coat of paint made this little carving detail pop out!
I’m so happy with how the Rustoleum spray paint covered the desk and I’ve been using the desk daily since we moved it into this room! The lower right drawer originally had two pulls to mimic two separate drawers, but since I used a pack of 8 I already had, I plan to fill those holes with wood filler and paint the holes over to make them disappear.
This project cost me $80 to complete and took about 2 full days to complete including cleaning, sanding and painting the desk!

Here are my tips to get this DIY desk makeover done quickly and beautifully!
Clean your wood desk and lightly sand it first - I used Murphy’s Oil Wood cleaner and a microfiber cloth to clean the desk. I followed that up with a fine grit sand paper to make sure that the spray paint bonded nicely to the wood with a lovely satin finish.
Use a spray paint can that has a comfort fingertip press or a trigger adapter - I went through 4 cans of spray paint and let me tell you, even with the comfort fingertip press, by can 2 my fingertip was aching! You can purchase a trigger adapter where you buy your spray paint and it’s totally worth it!
Apply the spray to your desk in long, light strokes - Using this technique ensures that the paint goes on evenly with minimal drips.
Allow all the pieces to dry separately before you reassemble - The worst feeling is inserting a drawer or door into your desired position and realizing you’ve pulled the paint off of the adjacent surfaces. Be patient and make sure all the pieces are 100% dry!
Give yourself grace! - There were spots that I missed of didn’t feel like I covered enough, but this is an amateur DIY. I wasn’t going to delay enjoying the fruit of my labor by nit picking on the little imperfections.
I hope these tips were helpful to you and that you’re inspired to do your own DIY desk makeover!